Dipping Into 3D Printing
One of my new hobbies that I have started getting into as of late has been that of 3D printing. As someone who likes making hands on materials, I have recently been mesmerized by the unlimited possibilities of what 3D printers are capable of and their application use. Luckily, Christmas came early a bit and I got to try out a new Resin LCD Mono Printer to see if this new hobby is a fit for me.
For those who don’t know how a resin printer works, you first start with creating your 3D model either in an .obj or .stl file type. The particular model that I used here was done on an online platform called Hero Forge. In the future, I plan on developing my 3D skills in blender so I can make custom pieces. If you don’t have any concepts of designing in 3D, there are websites out there with custom graphics and files that are simple and easy to break down.
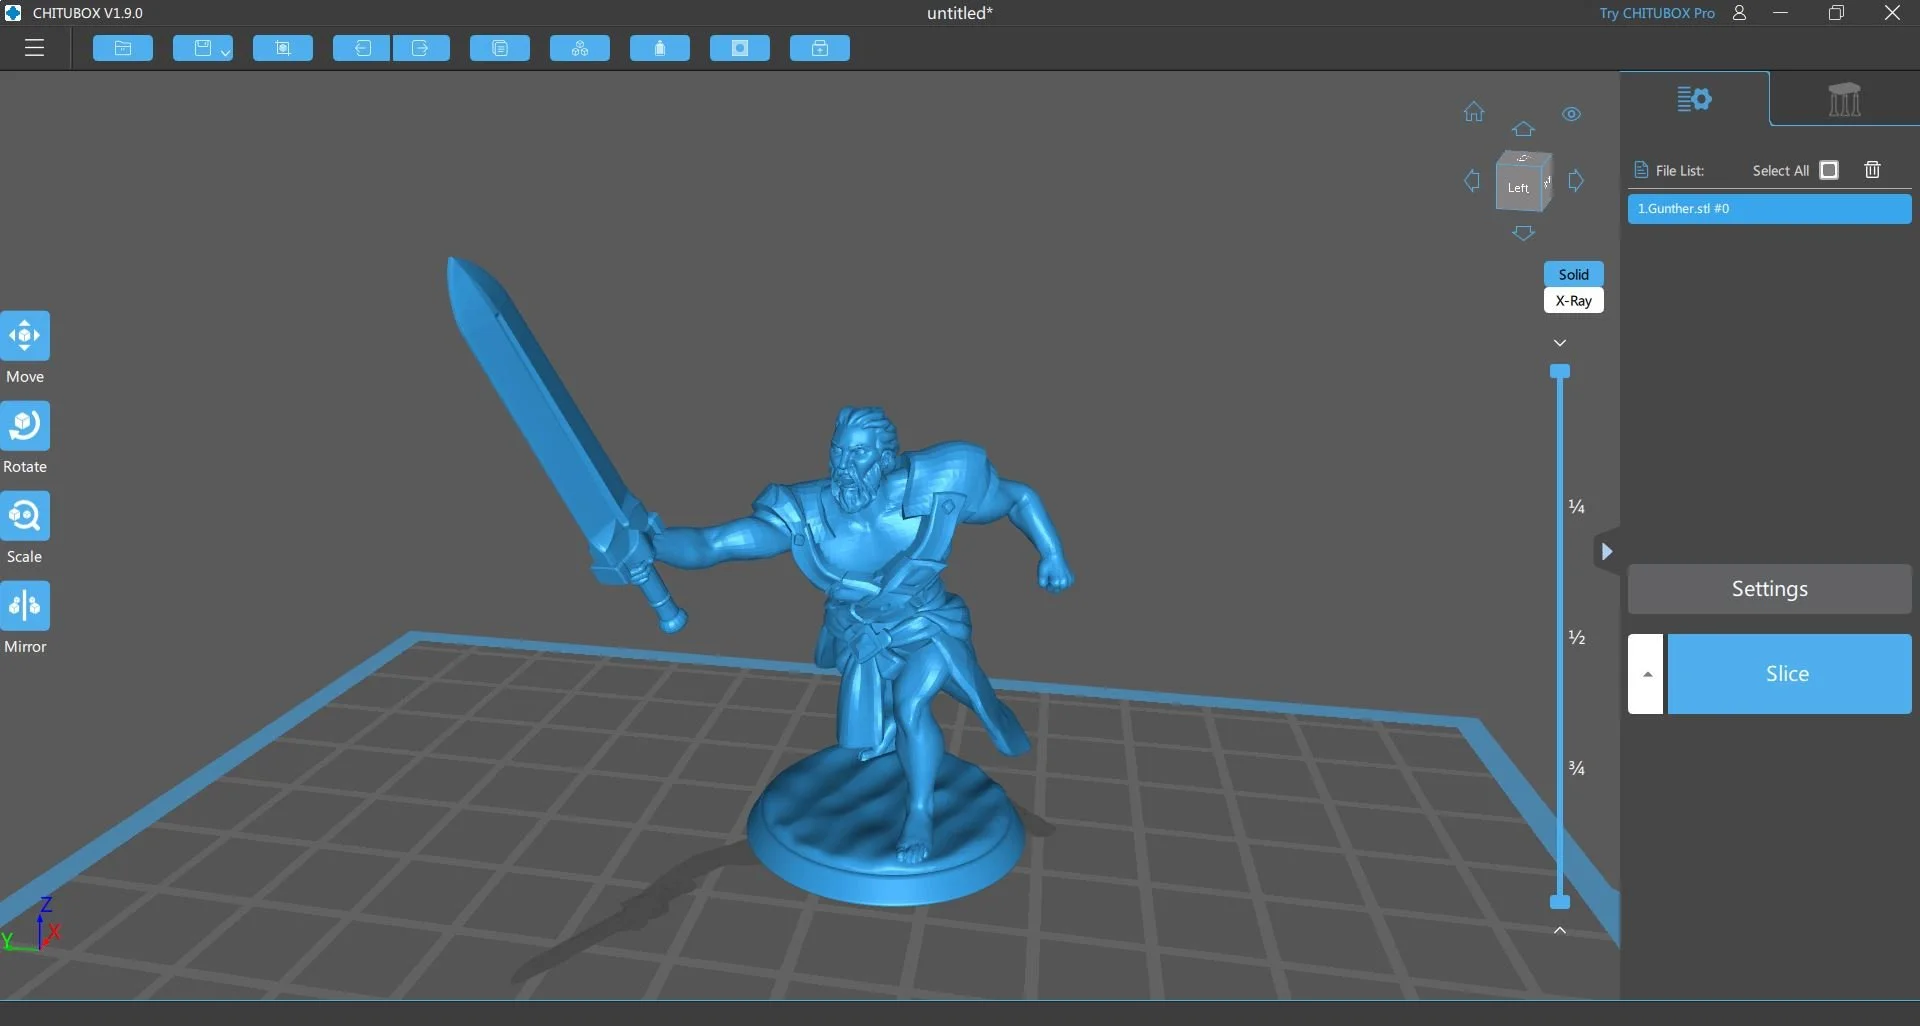
Next step is to take that model and use a splicing software to break apart the model into layers. These layers will then stack on top of one another to create one solid mass. The program also allows you to calculate thickness between layers, how long to expose the layers to UV light, and build structural supports to keep long or heavy layers together.
Once you have everything set on the build plate and all support structures are in place, you then slice the file into the file format required for your printer. From there, you upload the file to the printer and begin printing. The amount of time needed to print an object differs based on the layer thickness and the exposure time needed to cure each layer. Speaking of layers, let me explain how this REALLY works…
So with resin printing you have a metal plate that slowly dips down into a container with a clear bottom called a fap. This container, sits over a special monochrome LCD display that only allows UV lighting to show the current layer. The resin then adheres to the metal plate and the plate is lifted. Once it has cleared, it will come back down to have the next layer be blasted with UV light. The cycle then repeats itself until all layers are completed.
Before you begin to mess with the piece, its important to still handle with care, as resin is not a friendly chemical to breathe, nor is it to touch, so always use mask, eye protection, and gloves when working with resin. Once it was done, you can scrape it off the plate and prep it for cleaning and curing. Cleaning prints with isopropyl alcohol allows for any liquid resin to float off the model without ruining any of the fine details with a brush. I was also very lucky that the supports were able to come off so cleanly that I barely have to do any sanding.
The model turned out great and I can’t wait to get started on the paint job. Again, I hope to start doing more 3D prints of other, more practical items, but this was a good test run and I’m quite happy with it.


